How to Add, Trim, Split and Delete Clips in Alight Motion (Complete Beginner Guide)
Have you ever opened Alight Motion, added a clip, and then felt completely stuck? That’s where most beginners struggle. The interface looks advanced, but once you understand the basics, everything becomes simple.
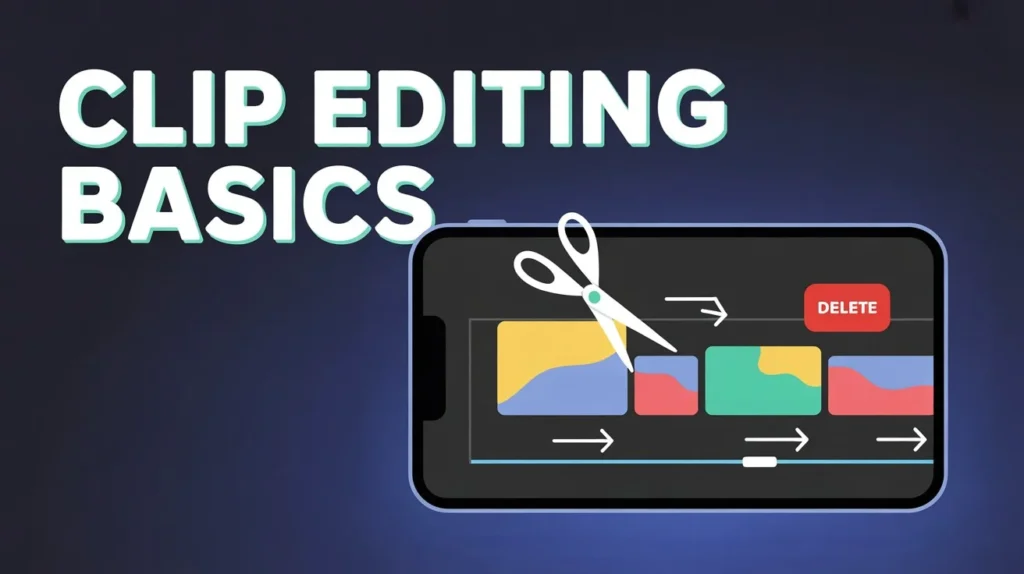
Every professional edit starts with four core actions: adding clips, trimming unwanted parts, splitting sections, and deleting what you don’t need. These are the building blocks of every smooth and engaging video.In this guide, you’ll learn how to add trim split and delete clips in Alight Motion in a simple, practical, and beginner-friendly way.
What Are Video Clips in Alight Motion?
In Alight Motion, a video clip is any media file you place on the timeline. It can be a video, image, or audio file. Each clip appears as a separate layer, allowing you to edit it independently without affecting other elements.This layered editing system gives you more control and helps create professional-quality videos directly on your mobile device.
Trim vs Split vs Delete vs Crop (Key Differences Explained)
Here’s a quick comparison to understand these tools better:
| Action | Purpose | Best Use Case |
| Trim | Removes start/end parts | Cleaning extra footage |
| Split | Cuts clip into parts | Editing middle sections |
| Delete | Removes entire clip | Cleaning timeline |
| Crop | Adjusts visible frame | Zooming or reframing |
Why Clip Editing is Important
Proper clip editing improves video quality, flow, and engagement. Removing unnecessary parts and keeping only important moments makes your content more professional and easier to watch.
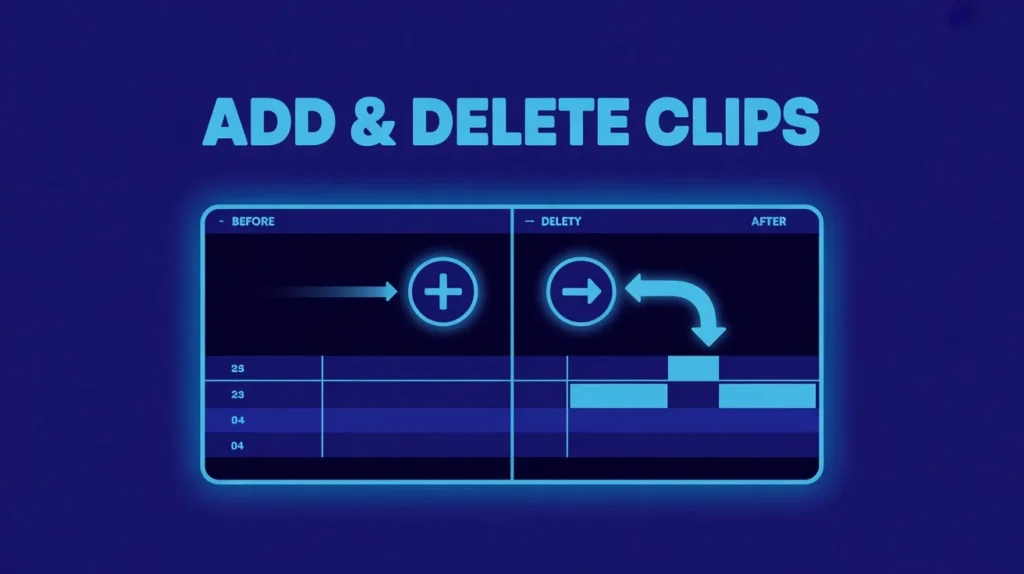
How to Add Clips in Alight Motion
Adding clips is the first step. Open your project, tap the plus icon, and import media from your gallery. The clip will appear on the timeline, where you can arrange it according to your sequence.
How to Trim Clips in Alight Motion
To trim a clip, select it on the timeline and drag its edges inward. This removes unwanted parts from the beginning or end. Always preview your trimmed clip to ensure smooth transitions.
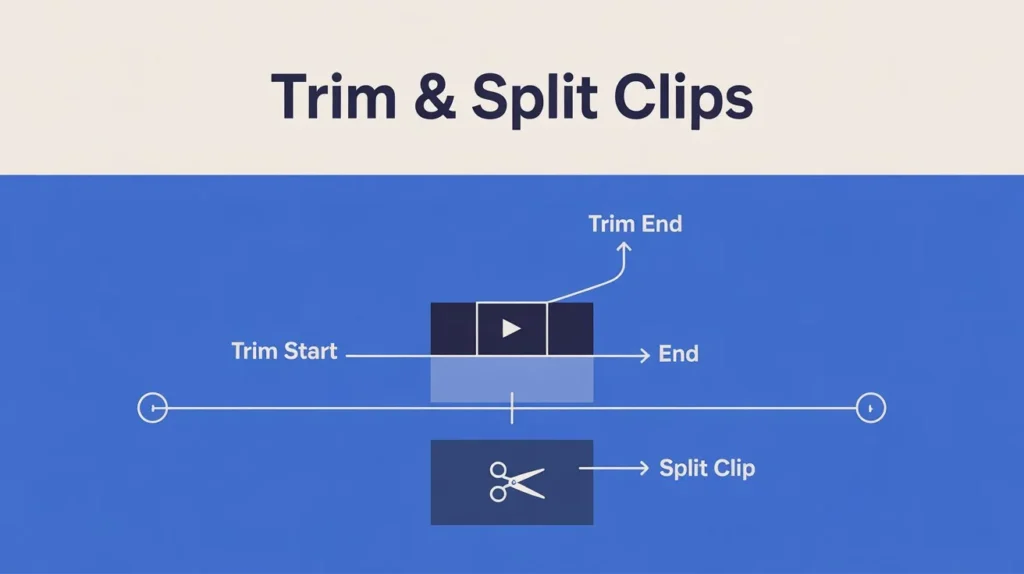
How to Split Clips in Alight Motion
Splitting allows you to cut a clip into two parts. Move the playhead to the desired point, select the clip, and tap the split tool. This is useful for removing middle sections or applying effects to specific parts.
How to Delete Clips in Alight Motion
Deleting clips helps keep your timeline clean. Simply select the clip and tap the delete icon. This removes it from your project but not from your device.
Pro Tips for Better Clip Editing
Good editing comes with practice. Always preview your work, keep your timeline organized, and use higher frame rates for smoother videos. Small improvements in your workflow can significantly enhance your final output.
Common Mistakes to Avoid
Many beginners trim too much footage or split clips at the wrong moment. Some forget to preview their edits, while others accidentally delete important clips. Avoiding these mistakes will improve your editing quality.
Conclusion
Learning how to add, trim, split, and delete clips in Alight Motion is the foundation of video editing. Once you master these basics, creating smooth and professional videos becomes much easier.Practice regularly, experiment with clips, and improve your workflow step by step.