Rendering Settings in Alight Motion (Best Export Settings for High-Quality Video)
Have you ever edited a video in Alight Motion, but after exporting it looks blurry or low quality? This is a very common problem for beginners. Most people don’t understand the correct export settings, so their final video does not look good.The truth is, editing is only half the work.
The final quality of your video depends on how you export it. If you use the right rendering settings, your video will look clear, smooth, and professional.In this, you will learn rendering settings in Alight Motion in a very simple and easy way, so you can export high-quality videos without confusion.
What is Rendering in Alight Motion?
Rendering is the process of converting your edited project into a final video file. When you finish editing and press the export button, Alight Motion processes all your clips, effects, and audio and turns them into a single video.
In simple words, rendering means turning your work into a ready-to-share video. The better your settings, the better your final result will be.
Export Settings in Alight Motion
- Before exporting, it’s important to understand a few basic settings. These settings control your video quality, size, and performance.
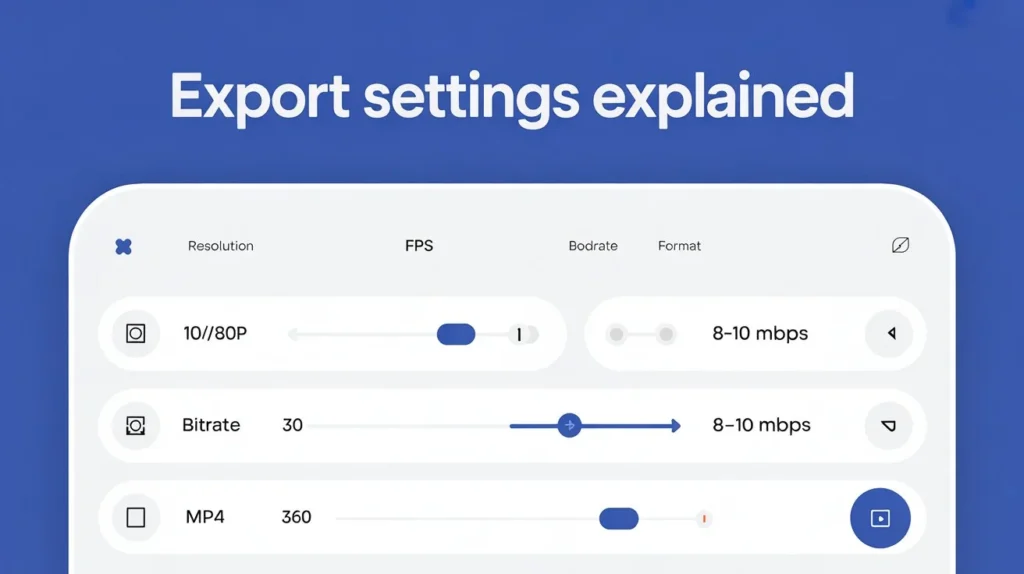
- The first thing is the video format. MP4 is the best option for most users because it gives good quality with a smaller file size. MOV is better for professional work but creates larger files, while GIF is used only for short animations.
- Next is resolution, which controls how clear your video looks. Higher resolution like 1080p gives sharp and clean video, while lower resolutions reduce quality but save storage.
- Frame rate (FPS) controls how smooth your video looks. A video with 30 FPS is normal, while 60 FPS looks smoother and more professional.
- Bitrate is another important setting. It controls how much data is used in your video. Higher bitrate gives better quality but increases file size. For most videos, a bitrate between 8–10 Mbps is perfect.
- Codec is used to compress your video. The best and most common option is H.264 because it works well on all platforms.
How to Export Video in Alight Motion
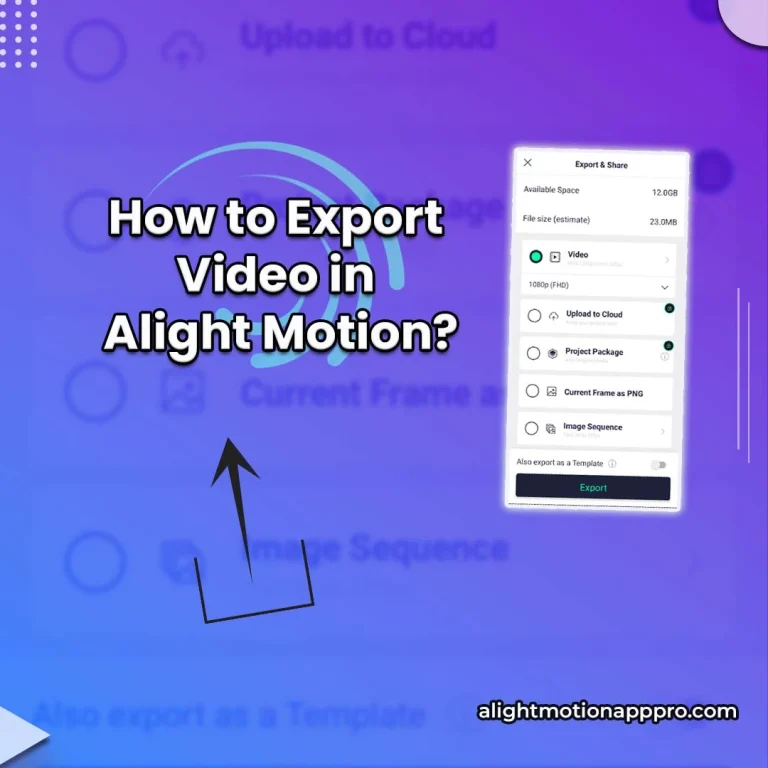
Exporting your video is very simple once you understand the steps. After finishing your edit, tap the export button at the top of your project. Then choose your video format, usually MP4.
After that, select resolution and adjust settings like FPS and bitrate. Once everything is set, tap export, and your video will start rendering. After a few moments, your video will be saved to your device.
Best Export Settings in Alight Motion for High Quality
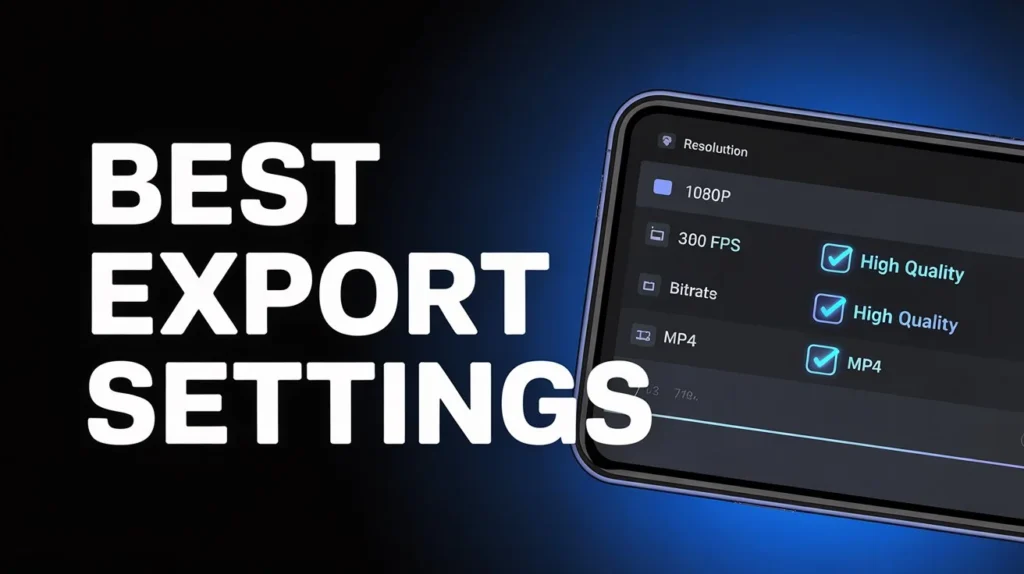
If you want your video to look professional, you should use the right settings. The best combination is MP4 format with H.264 codec, 1080p resolution, and a bitrate of around 8–10 Mbps.
Keeping your frame rate at 30 FPS or 60 FPS will make your video smooth. These settings are perfect for most users and work well on all social media platforms.
Best Export Settings for Social Media
Different platforms need different settings, but you can use this simple guide to get the best results.
| Platform | Resolution | Format | Bitrate | FPS |
| YouTube | 1080p | MP4 | 8–10 Mbps | 30 |
| TikTok | 1080p | MP4 | 6–8 Mbps | 30 |
| 1080×1080 | MP4 | 8 Mbps | 30 | |
| 720p/1080p | MP4 | 5 Mbps | 30 |
These settings help your videos stay clear and smooth after uploading.
Advanced Rendering Settings (Simple Explanation)
Alight Motion also gives some advanced options like Max Render Quality, Render Only Effects, and H.265 codec. These features can improve quality or reduce file size, but beginners don’t need to use them right away.If your project has heavy effects, these options can help improve performance and output quality.
Common Export Problems in Alight Motion
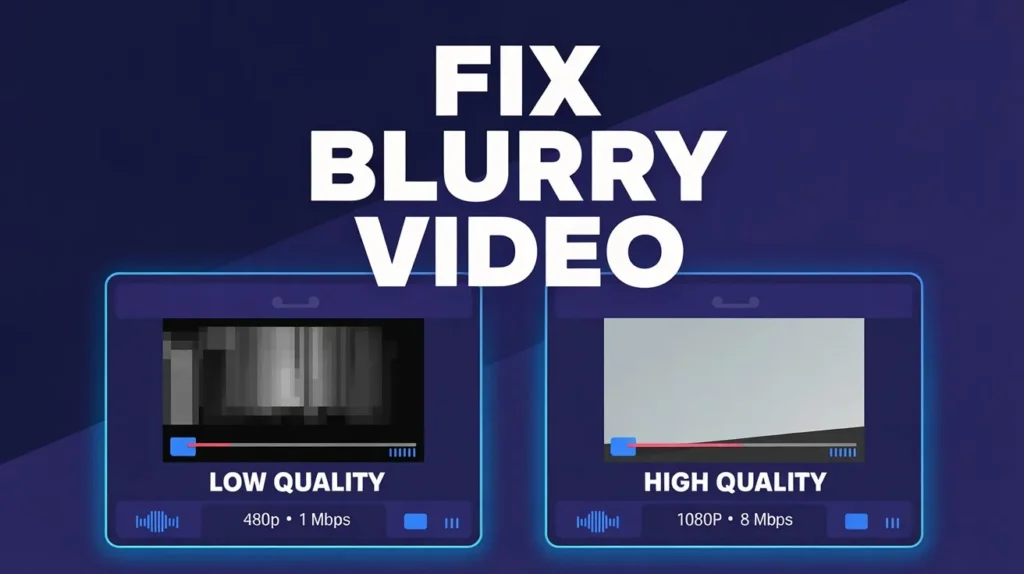
Sometimes users face problems like video not exporting, low quality output, or app crashing. These issues usually happen because of wrong settings or low device storage.If your video looks blurry, it means your bitrate or resolution is too low. If the app crashes, your device may not be strong enough for heavy editing.
How to Fix Rendering & Export Issues
To fix export problems, first check that your resolution is set to 1080p. Then increase your bitrate if the quality is low. Make sure your device has enough storage and close other apps running in the background.
If your project is heavy, try reducing effects or exporting smaller sections first. These simple steps can solve most problems easily.
Pro Tips for Best Video Quality
To get the best results, always match your export settings with your project settings. Use high bitrate and proper FPS for smooth videos. Preview your video before exporting to avoid mistakes.With practice, you will understand which settings work best for your style and platform.
Conclusion
In conclusion, understanding the right rendering settings in Alight Motion is very important if you want your videos to look clear and professional. Many people focus only on editing, but export settings like resolution, bitrate, and FPS play a huge role in final quality.
By using simple settings like 1080p resolution, MP4 format, and proper bitrate, you can easily improve your video output. It’s also important to match your settings with the platform where you will upload your video. If you face any issues, small adjustments can quickly fix them. With regular practice, you’ll become confident in exporting high-quality videos every time.