Camera Objects in Alight Motion: Complete Guide to Camera Controls, Blur & Parallax
If you want to take your edits from basic to cinematic, mastering Camera Objects in Alight Motion is essential. While most beginners focus only on effects and transitions, professional editors rely on camera movement, depth, and focus to create realistic scenes.
In this guide, you’ll learn everything from basic camera controls to advanced techniques like parallax, blur, and multi-camera editing.
What Are Camera Objects in Alight Motion?
A Camera Object is a special layer that controls what part of your project is visible on screen. Instead of moving every layer manually, you move the camera to create motion.
With camera objects, you can:
- Simulate depth and 3D movement
- Add cinematic blur and focus
- Create smooth zooms and pans
- Build realistic parallax effects
- Switch between multiple camera angles
In simple terms, the camera acts like a virtual lens inside your project.
How to Add a Camera Object
Follow these steps:
- Open your project
- Tap Add Layer
- Go to Object
- Select Camera
Once added, you’ll see a wireframe. This represents your camera view.
Active Camera View (Important Setting)
After adding a camera, you won’t immediately see its effect.
To fix that:
- Enable Active Camera View from the View Options
Now, when you move the camera, the entire scene will respond.Without this, you’re only moving the camera frame not seeing its output.
Understanding Camera Movement (X, Y, Z Axis)
Camera movement works in three directions:
- X-axis → Left and right
- Y-axis → Up and down
- Z-axis → Forward and backward
The Z-axis is the most powerful feature because it creates depth.
Example:
- Move camera forward → zoom-in effect
- Move camera backward → zoom-out effect
If your layers are placed at different Z positions, this creates a real 3D illusion.
Zoom Distance & View Angle Explained
These two settings control how your camera sees the scene:
Zoom Distance
- Controls how close the camera feels
- Higher value = more zoomed-in
View Angle
- Controls how wide the camera view is
- Lower angle = tighter frame
- Higher angle = wider scene
Both are connected. Changing one automatically affects the other.
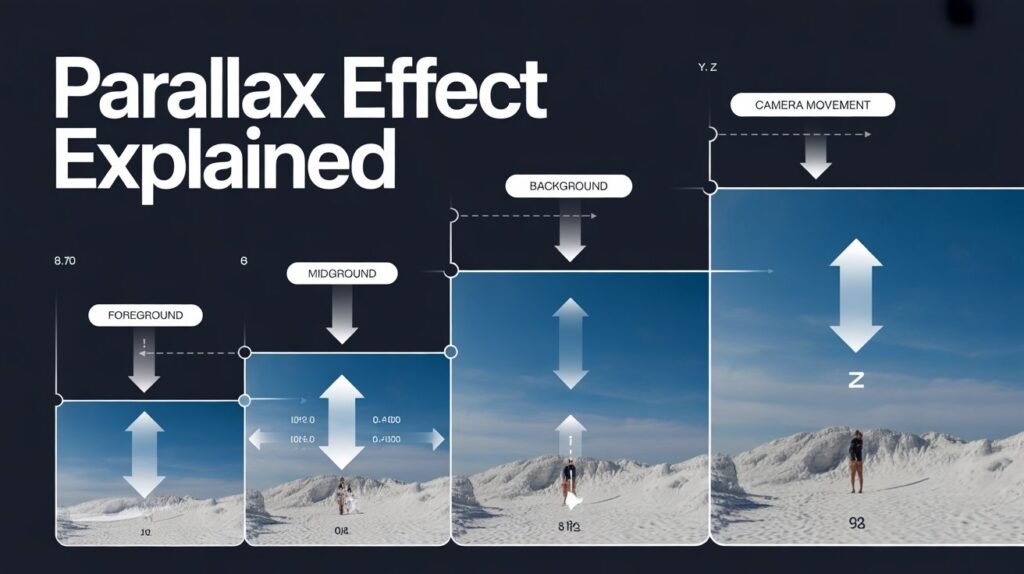
Creating Parallax Effect (Most Important Use)
Parallax is what makes your video look professional.
How to create it:
- Place layers at different Z positions
- Move the camera forward or sideways
- Animate using keyframes
Result:
- Foreground moves faster
- Background moves slower
This creates a realistic depth effect used in films and high-quality edits.
Focus Blur (Cinematic Depth Effect)
Focus Blur helps you simulate camera focus like real lenses.
Key Settings:
- Focus Distance → where the camera focuses
- Depth of Field → how much area stays sharp
- Blur Strength → intensity of blur
Use this when:
- Highlighting a subject
- Creating cinematic shots
- Blurring background elements
Fog Effect (Atmospheric Depth)
Fog adds a cinematic haze to your scene.
Settings:
- Color → fog color
- Near Distance → where fog starts
- Far Distance → where fog becomes strong
This is useful for:
- Moody edits
- Background separation
- Depth enhancement
Using Multiple Cameras
You can add multiple cameras in one project.
- The top camera in the timeline = Active Camera
- Hide it → next camera becomes active
This allows:
- Scene switching
- Cinematic cuts
- Multi-angle editing
Adding Effects to Camera
Instead of applying effects to each layer, you can apply them to the camera.
Popular options:
- Motion Blur → affects entire scene
- Auto Shake → realistic handheld effect
- Oscillate → smooth movement
This saves time and keeps your edit consistent.
Parenting with Camera
Camera works well with layer parenting.
You can:
- Parent layers to camera → overlays stay fixed
- Parent camera to objects → camera follows motion
Example:
- Tracking a moving subject
- Creating POV shots
Advanced Tips for Better Results
- Keep camera movement smooth and slow
- Combine Z-axis with blur for realism
- Use easing in every keyframe
- Avoid extreme zoom values
- Always balance foreground and background
Pros and Cons of Camera Objects
Pros
- Adds real cinematic depth
- Makes edits look professional
- Enables parallax and 3D illusion
- Saves time by controlling entire scene
- Works perfectly with keyframes and effects
Cons
- Slightly difficult for beginners
- Can lag on low-end devices
- Requires proper layer setup
- Overuse can make videos look messy
- Needs practice to master smooth motion
Common Mistakes to Avoid
- Not using Z-axis (biggest mistake)
- Keeping all layers at same depth
- Using too much blur
- Fast, shaky camera movement
- Ignoring easing
Simple rule:
Controlled camera movement creates better visuals.
Conclusion
Camera Objects in Alight Motion are one of the most powerful tools for creating cinematic edits. Once you understand movement, depth, and focus, your videos instantly look more professional.Start simple:
Use basic zoom and pan first. Then slowly experiment with parallax, blur, and multiple cameras.With practice, you’ll be able to create high-quality edits that stand out on any platform.