Advanced Masking Techniques for Multi-Layer Editing in Alight Motion
Advanced Masking Techniques for Multi-Layer Editing in Alight Motion are the secret behind smooth anime edits, cinematic transitions, and viral TikTok videos. Many beginners try masking effects, but their edits still look flat, rough, or unprofessional. The main reasons are poor layer management and an incorrect masking workflow.
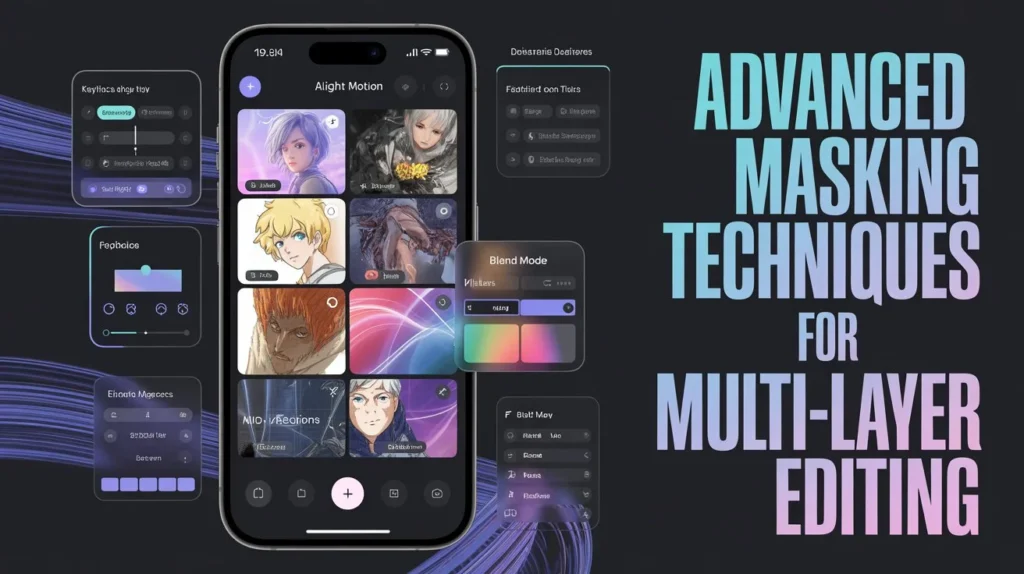
With the right masking techniques in Alight Motion, you can create smooth text reveals, depth effects, velocity edits, and professional cinematic transitions directly on mobile. Features like clipping masks, feathering, motion blur, and keyframe animation help make your edits cleaner and more realistic without needing a PC.
This guide will teach you, step by step, how to use Advanced Masking Techniques for Multi-Layer Editing in Alight Motion. You will learn how to organize layers, animate masks smoothly, fix common masking problems, and create high-quality edits for TikTok, Instagram Reels, anime AMVs, and gaming montages.
Quick Answer
Advanced masking in Alight Motion involves using multiple layers, clipping masks, keyframes, feathering, and blend modes to create smooth, cinematic effects. Multi-layer masking helps editors make professional transitions, object reveals, anime edits, and depth effects directly on mobile devices.
What Is Masking in Alight Motion?
Masking in Alight Motion is a feature that hides or reveals parts of a layer. Editors use masks to create smooth transitions, cinematic effects, and text animations. It is one of the most important tools in motion graphics and mobile video editing.
The masking tool works by controlling which area of a layer stays visible. You can use shape masks, clipping masks, PNG masking, and alpha masks depending on the editing style. Professional creators use masking for TikTok edits, Instagram Reels, and YouTube shorts.
Difference Between Basic Masking and Advanced Multi-Layer Masking
Basic masking only works with one or two layers and simple shapes. Advanced masking techniques for multi-layer editing in Alight Motion combine multiple video layers, feathering, motion blur, and animation graphs.
Multi-layer editing creates more realistic motion and depth effects. It also improves cinematic transitions and character animations.
Why Multi-Layer Editing Creates Better Cinematic Results
Multi-layer masking separates foreground, background, text, and effects into different layers. This creates a realistic 3D feel inside the video.
Professional editors use layer groups and camera movement to make edits look smooth. It also helps reduce rough edges during transitions.
Types of Masking Techniques in Alight Motion
Different masking techniques in Alight Motion help creators make cinematic transitions, smooth text reveals, anime edits, and professional multi-layer visual effects more easily.
Shape Masking
Shape masking uses circles, rectangles, or custom shapes to hide parts of a layer. It is useful for cinematic reveals and transition effects.
Clipping Masking
Clipping masks connect one layer to another. This technique is commonly used in text reveal effects and logo animations.
Text Masking
Text masking allows videos or images to appear inside text. This effect is popular in TikTok edits and gaming montages.
PNG Masking
PNG masking uses transparent PNG overlays for anime edits and glow effects. Many creators use it for character editing.
Gradient Masking
Gradient masking creates smooth fading transitions between layers. It helps make edits look cleaner and more professional.
Character/Object Masking
Object masking isolates a person or object from the background. This technique is common in cinematic shorts and AMV edits.
Alpha Masking
Alpha masking controls layer transparency for smoother blending effects. It works well with glow effects and motion graphics.
Multi-Layer Masking
Multi-layer masking combines several masks together for advanced cinematic editing. It gives better control over transitions and depth effects.
Requirements Before Starting Multi-Layer Masking
Before creating advanced masking edits, make sure your project settings are optimized. High-quality settings improve rendering and reduce lag.
You should also organize your layers properly. Clean layer management makes editing easier and faster.
Best Project Settings for Smooth Masking Edits
Use 60 FPS for smooth animations and velocity edits. A higher frame rate improves motion blur and cinematic transitions.
Choose 1080p resolution for better export quality. Lower resolutions can reduce sharpness during masking.
Recommended Resolution and Export Settings
Use the H.264 export format for a balanced quality-to-file-size ratio. Keep the bitrate high for professional results.
Avoid exporting at low FPS, as transitions may look choppy. Smooth rendering is important for cinematic edits.
Best Devices for Smooth Multi-Layer Editing
Device performance is crucial to Advanced Masking Techniques for Multi-Layer Editing in Alight Motion. Heavy projects with multiple video layers can slow down weak devices. A smoother device helps improve rendering and editing speed.
Modern Android devices with good RAM and GPU performance work better for cinematic mobile editing. Optimized devices also reduce lag during export.
Minimum RAM Requirements
At least 4GB RAM is recommended for basic masking projects. For professional multi-layer editing, 6GB or 8GB RAM gives better performance.
More RAM helps Alight Motion handle motion graphics and blend modes smoothly.
Android Performance Tips
Close background apps before editing large projects. This improves rendering speed and reduces FPS drops.
Keep enough storage space available, as low storage can slow export performance.
How to Reduce Lag in Heavy Projects
Reduce unused layers and disable unnecessary effects during preview. This makes timeline playback smoother.
Lower preview quality while editing if your device starts lagging. Final export quality will remain high.
How to Do Advanced Multi-Layer Masking in Alight Motion
Learning how to do advanced multi-layer masking in Alight Motion helps you create smoother transitions, better depth effects, and professional cinematic edits with full control over every layer.
Step 1: Import and Organize Media Layers
Import all videos, PNG overlays, and background clips first. Arrange them properly inside the timeline.
Keep text, effects, and main objects in separate layer groups. This improves editing speed.
Step 2: Create Layer Groups Properly
Group related layers together for better control. This is important for advanced masking techniques for multi-layer editing in Alight Motion.
Layer groups also help reduce confusion during animation.
Step 3: Apply the Main Mask Layer
Select the main object and add a clipping mask or shape mask. Adjust the mask position carefully.
Use Zoom for better edge accuracy.
Step 4: Add Secondary Masks for Depth
Add extra masks for shadows, background blur, or glow effects. Secondary masks create realistic depth effects.
This technique is common in cinematic mobile editing.
Step 5: Use Feather and Blur for Smooth Edges
Feathering softens rough mask edges and makes transitions look cleaner. Blur effects also improve visual quality.
Avoid sharp edges because they make edits look unnatural.
Step 6: Animate Masks With Keyframes
Use keyframes to move masks smoothly across the timeline. Proper animation creates cinematic movement.
The animation graph helps control speed and easing.
Step 7: Sync Masking With Camera Movement
Match the mask’s movement to the camera motion for realistic results. Smooth syncing improves transition quality.
This technique works well in anime edits and velocity edits.
Step 8: Add Motion Blur and Blend Modes
Motion blur creates smoother movement during fast transitions. Blend modes improve lighting and visual effects.
Professional editors combine both effects for cinematic results.
Step 9: Preview and Fix Edge Problems
Preview the project before exporting. Check for rough edges, lag, or layer alignment issues.
Fixing problems early improves final video quality.
Step 10: Export Without Quality Loss
Export using high bitrate and 60 FPS settings. This keeps masking effects sharp and smooth.
Avoid low-quality export settings because they reduce detail.
Multi-Layer Editing Tips for Beginners
Advanced Masking Techniques for Multi-Layer Editing in Alight Motion may look difficult at first, but beginners can learn it step by step. Simple workflow management makes editing easier and cleaner. Proper layer hierarchy is important for smooth masking projects.
New editors should focus on clean transitions instead of adding too many effects. Balanced editing usually looks more professional.
How Many Layers Should Beginners Use?
Beginners should start with only 3 to 5 layers. Too many layers can create confusion and lag problems.
Once you understand the masking workflow, you can slowly add more visual effects and overlays.
Common Beginner Mistakes
Many beginners place layers in the wrong order. An incorrect layer hierarchy can break clipping masks and transitions.
Overusing glow effects and blur can also reduce video quality. Clean editing usually performs better.
Easy Workflow for First Masking Project
Start with one background layer, one subject layer, and one text layer. Then apply simple clipping masks and feathering effects.
This workflow helps beginners understand how multi-layer masking works in Alight Motion.
Advanced Masking Techniques for Professional Edits
Cinematic Masking Techniques
Cinematic masking combines blur, depth effects, and camera movement. It creates movie-style editing on mobile.
Anime Edit Masking Tricks
Anime masking focuses on character highlights, glow effects, and fast transitions. PNG overlays improve anime AMV edits.
Velocity Edit Masking Workflow
Velocity masking syncs transitions with speed changes. Motion blur makes the effect smoother.
Text Reveal Masking Effects
Text reveal masking hides text behind objects or moving layers. This effect is popular on Instagram Reels.
Transition Masking Effects
Transition masking blends two clips together smoothly. It creates seamless scene changes.
Glow Masking Techniques
Glow masking adds lighting effects around objects and characters. It improves cinematic visuals.
Object Reveal Effects
Object reveals effects gradually show a hidden subject using masks. This creates professional motion graphics.
Background Separation Masking
Background separation isolates the subject from the background. It helps create cleaner edits.
3D Parallax Masking Technique
Parallax masking moves layers at different speeds to create depth. This gives videos a realistic 3D motion feel.
Best Effects to Combine With Advanced Masking Techniques for Multi-Layer Editing in Alight Motion
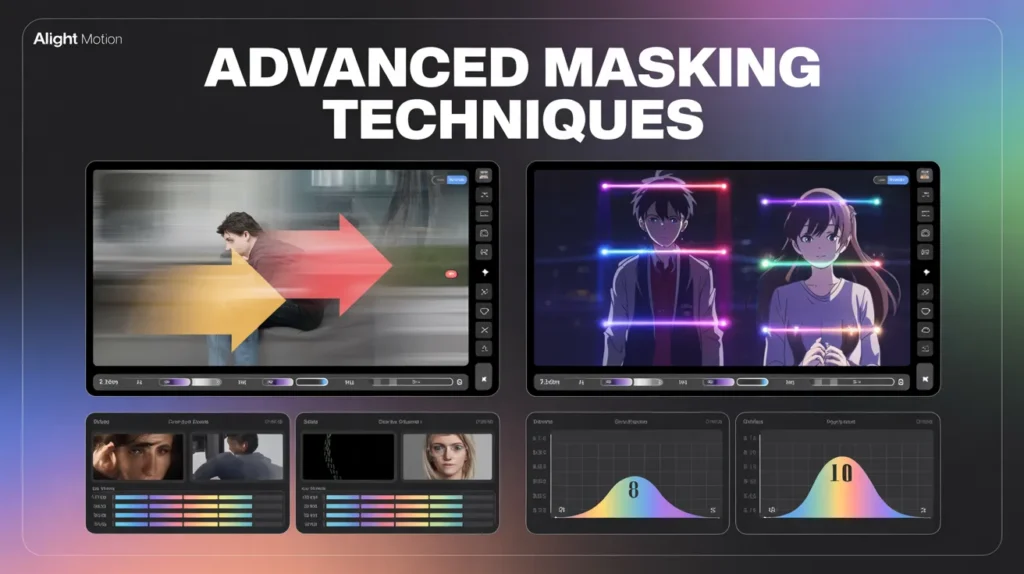
Using advanced visual effects and masking techniques in Alight Motion for multi-layer editing can make edits look more cinematic and professional. Many creators use only simple masks and ignore effects that enhance depth and smoothness. Combining the right effects helps videos look cleaner and more realistic.
These effects are commonly used in anime edits, TikTok transitions, gaming montages, and cinematic shorts. They also improve visual composition and make transitions feel smoother.
Motion Blur + Masking
Motion blur makes fast transitions look smoother and more natural. It reduces rough movement during velocity edits and cinematic transitions.
Professional editors combine motion blur with edge feathering for cleaner animation. This technique improves tracking motion and cinematic quality.
Glow Effects With Masks
Glow effects add lighting around characters, text, and objects. RGB glow is especially popular in anime AMV edits and gaming montages.
Use the glow carefully because too much lighting can reduce video quality. Soft cinematic overlay effects usually look better.
Blur Transition Masking
Blur transitions help blend two scenes smoothly together. This technique improves transition sync during fast edits.
Editors often combine blur effects with overlay PNG elements to create professional, cinematic transitions.
Shake Effects With Multi-Layer Editing
Shake effects create energetic movement during action scenes and velocity edits. Multi-layer editing keeps the shake effect balanced across all layers.
Too much shaking can make videos uncomfortable to watch. Small movements usually create better results.
How to Animate Masks Smoothly in Alight Motion
Using Keyframes Correctly
Keyframes control mask movement and timing. Smooth spacing between keyframes improves animation quality.
Graph and Easing Settings
The animation graph controls speed curves and easing. Ease In and Ease Out create natural movement.
Smooth Motion Techniques
Use motion blur and feathering for smoother transitions. Avoid sudden movements during edits.
Camera Movement Sync Tips
Camera movement should match the layer animation. Proper syncing improves cinematic quality.
Best Multi-Layer Workflow for TikTok and Reels Editors
Masking for Short Videos
Short videos need fast and clean transitions. Multi-layer masking helps maintain smooth motion.
Viral Transition Editing Tips
Use glow effects, blur transitions, and speed ramps carefully. Too many effects can make videos look messy.
Best Aspect Ratio Settings
Use a 9:16 aspect ratio for TikTok and Instagram Reels. This format works best for mobile viewing.
Export Settings for Social Media
Export in 1080×1920 resolution with high bitrate. This improves upload quality on social platforms.
Best Export Settings for YouTube Shorts, TikTok, and Reels
Correct export settings are important for Advanced Masking Techniques for Multi-Layer Editing in Alight Motion. Poor rendering settings can reduce video sharpness and transition quality. High-quality export improves social media performance.
Most professional creators use high bitrate and 60 FPS settings for smooth motion graphics and cinematic overlays.
TikTok Export Settings
Use 1080×1920 resolution with 60 FPS for TikTok videos. This keeps transitions smooth and sharp.
High bitrate settings help preserve masking details after upload compression.
Instagram Reels Export Settings
Instagram Reels work best with the vertical 9:16 format. Export videos in MP4 format using H.264 codec.
Avoid low-quality compression, as it can degrade glow effects and motion blur.
YouTube Shorts Rendering Tips
YouTube Shorts supports high-quality cinematic videos. Use stable frame rates and balanced sharpness settings.
Preview the video before uploading to check transition sync and edge quality.
AI and Auto Masking Features in Modern Editing
Can AI Improve Masking Accuracy?
AI tools help detect edges and objects faster. They reduce manual masking work.
Auto Object Tracking for Masks
Object tracking keeps masks attached to moving subjects. This improves editing accuracy.
AI Background Separation Workflow
AI background separation quickly removes unwanted backgrounds. It saves editing time for creators.
Common Masking Mistakes and How to Fix Them
Rough Mask Edges
Increase feather settings to soften edges. Sharp lines reduce video quality.
Lag During Multi-Layer Editing
Too many effects can slow down editing performance. Reduce unused layers to improve speed.
Mask Not Working Properly
Check layer order and clipping mask settings carefully. Incorrect placement can break the effect.
Layer Alignment Problems
Zoom into the timeline for accurate alignment. Small mistakes can ruin transitions.
Export Quality Issues
Low bitrate settings reduce video sharpness. Always use high-quality export options.
FPS Drop While Editing
Close background apps to improve device performance. Lower preview quality if needed.
Pro Tips to Make Multi-Layer Masking Look Professional
Use High-Quality PNGs
Clear PNG overlays improve glow effects and character masking quality.
Avoid Overlapping Layers
Too many overlapping layers create confusion and lag. Keep projects organized.
Keep Motion Consistent
Smooth motion looks more professional than random movement. Consistency improves cinematic quality.
Use Light Effects Carefully
Too much glow can damage visual balance. Use lighting effects naturally.
Combine Blur and Feather Correctly
Blur and feathering together create soft cinematic transitions. They improve realism in edits.
Best Use Cases of Advanced Masking in Alight Motion
Anime AMV Edits
Masking helps create energetic anime transitions and glow effects.
TikTok Velocity Edits
Velocity edits use masking for smooth speed transitions and motion sync.
Instagram Reels
Reels creators use masking for cinematic text reveals and object transitions.
Cinematic Shorts
Masking adds depth effects and realistic camera movement.
Gaming Montage Edits
Gaming editors use masking for highlight transitions and motion graphics.
YouTube Intro Animations
Professional intro animations often use clipping masks and blend modes.
Advanced Masking vs Simple Layer Editing
Quality Comparison
Advanced masking produces cleaner, smoother results than simple editing.
Editing Flexibility
Multi-layer masking provides more creative freedom and better animation control.
Render Performance
Properly optimized projects render faster and maintain high quality.
Why Professional Editors Use Advanced Masking Techniques for Multi-Layer Editing in Alight Motion
Professional creators use Advanced Masking Techniques for Multi-Layer Editing in Alight Motion because they provide greater creative control over each layer. Multi-layer masking helps editors create smooth cinematic transitions, depth effects, and professional motion graphics. It also improves overall visual composition.
Most viral TikTok edits, anime AMVs, and Instagram Reels use advanced masking workflows for cleaner animation. These techniques help videos stand out on social media platforms.
Better Depth Effects
Multiple layers create realistic depth and smoother camera movement. This makes edits feel more cinematic.
Depth effects also improve subject separation from the background.
More Creative Control
Editors can animate every layer independently using keyframes and mask path animation. This improves flexibility during complex projects.
Creative control helps creators build unique editing styles.
Professional Cinematic Look
Professional masking creates cleaner transitions, smooth overlay effects, and balanced motion blur. These details make videos look high-quality.
A consistent masking workflow also improves final export performance.
Final Thoughts
Advanced Masking Techniques for Multi-Layer Editing in Alight Motion can completely improve your editing quality when used correctly. Features like clipping masks, keyframes, blend modes, and motion blur help creators create professional cinematic edits directly on mobile devices.
The key to better masking is clean layer organization and smooth animation workflow. Practice different masking styles, test new transitions, and keep improving your editing skills over time.