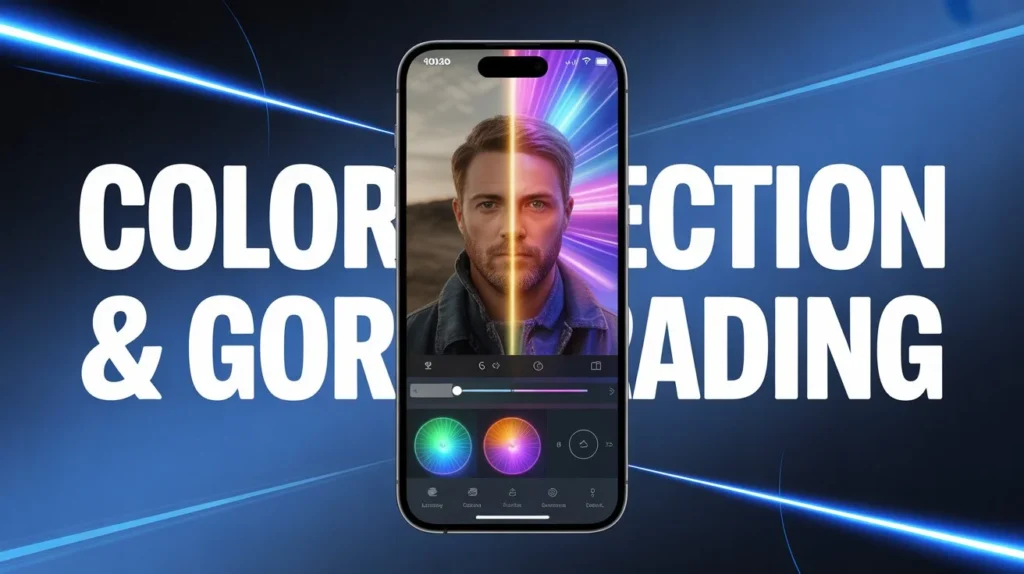
Color Correction & Grading in Alight Motion (Pro Guide)
Have you ever edited a video, but it still looks dull, dark, or unprofessional? Even after adding effects, something feels off.The reason is simple your video needs proper color correction and grading.These two techniques are the secret behind professional-looking videos. They help fix lighting issues, improve colors, and create a cinematic feel. In this guide, you will learn how to do color correction and grading in Alight Motion in a very simple and effective way.
What is Color Correction in Alight Motion?
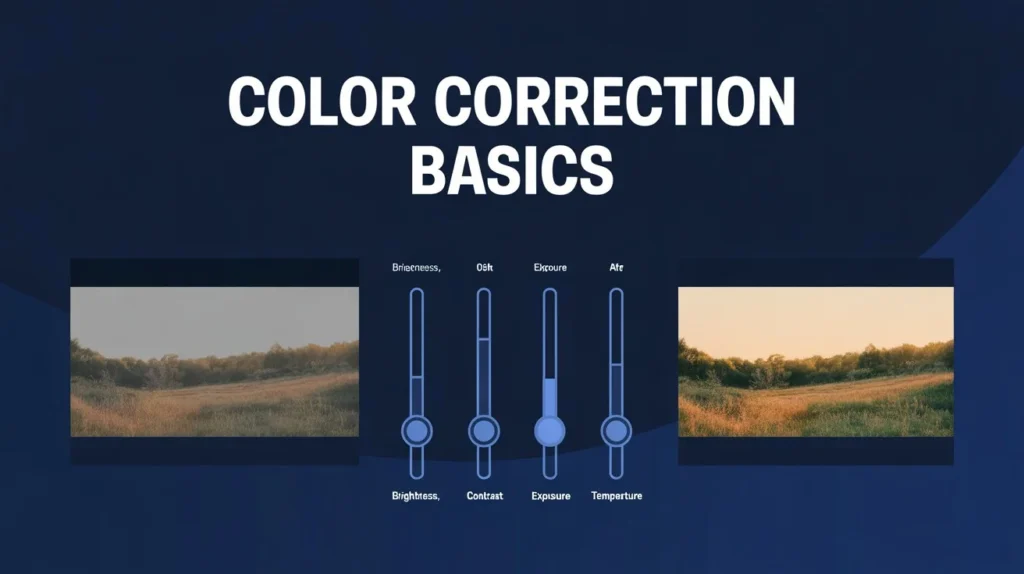
Color correction is the process of fixing your video’s colors so they look natural and balanced. Sometimes videos look too dark, too bright, or have weird color tones. Color correction helps solve these problems.
Using tools like brightness, contrast, exposure, and white balance, you can improve your video quality easily. The main goal is to make your video look clean and realistic before applying any creative effects.
What is Color Grading in Alight Motion?
Color grading comes after correction. It is used to give your video a specific style or mood.With color grading, you can create different looks like cinematic, vintage, or moody styles. Tools like saturation, hue, temperature, and color presets help you achieve these creative effects.In simple words, color correction fixes the video, and color grading makes it beautiful.
Difference Between Color Correction & Color Grading
Many beginners get confused between these two. Here is a simple comparison:
| Feature | Color Correction | Color Grading |
| Purpose | Fix colors | Add style |
| Result | Natural look | Creative look |
| Step | First | Second |
Color Correction & Grading Tools in Alight Motion
Alight Motion provides many powerful tools for video color editing. Basic tools like brightness and contrast help control light and darkness, while saturation adjusts how rich or dull your colors look. Exposure is useful for fixing lighting issues, especially in dark clips.
For more control, you can use advanced tools like hue shift, temperature, and tint to adjust color tones. Shadows and highlights help recover details in dark and bright areas.
Creative tools such as color presets, curves, blend modes, and masking allow you to create professional and cinematic effects.
How to Do Color Correction in Alight Motion
To start color correction, open your project and select the clip you want to edit. Go to the effects section and choose the “Color & Light” option.Now begin by adjusting brightness and exposure to fix lighting. Then use contrast to improve clarity. After that, adjust temperature and tint to fix white balance and remove unwanted color tones.Finally, use shadows and highlights to bring out details in dark and bright areas. Make sure your video looks natural before moving to the next step.
How to Do Color Grading in Alight Motion
Once your video is corrected, you can start color grading. Go back to the effects section and add tools like saturation, hue shift, or color presets.You can increase saturation to make colors pop or reduce it for a soft look. Adjust hue to change the overall tone of your video. You can also use overlays and blend modes to create cinematic effects.If you want dynamic changes, use keyframes to animate colors over time.
Popular Color Grading Styles
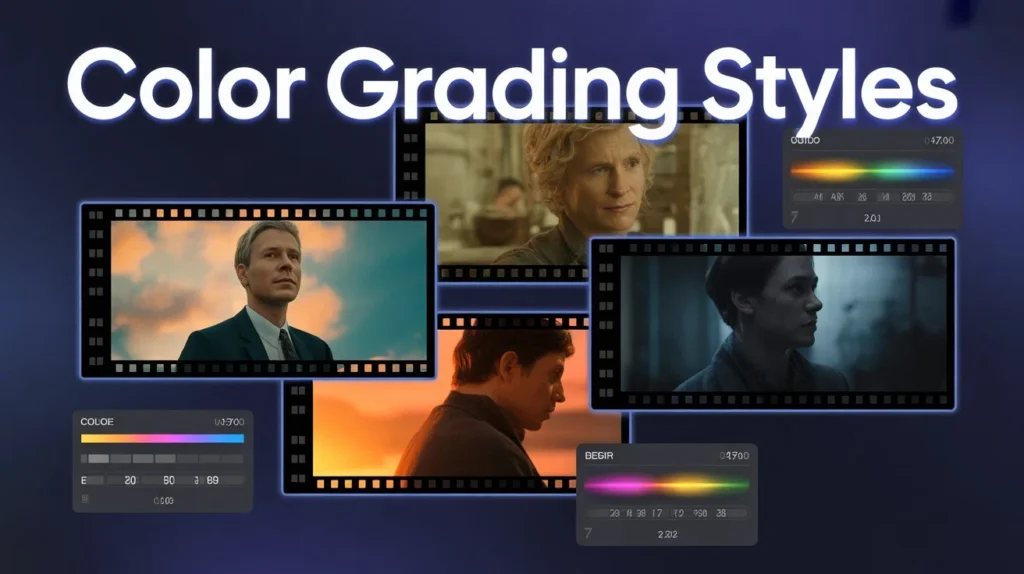
There are many styles you can try in Alight Motion.A cinematic look can be created by increasing contrast and slightly reducing saturation. A vintage look uses warm tones and low saturation. A cool tone gives a blue and calm effect, while a dreamy look adds brightness and soft glow.For dramatic videos, a moody look with dark shadows and high contrast works best.
Advanced Color Grading Techniques
For better results, you can use advanced techniques like curves to control brightness and colors more precisely. Masking allows you to apply changes only to specific parts of the video.You can also match colors between different clips to keep your video consistent and professional.
Pro Tips for Better Color Editing
Always make small adjustments instead of big changes. Try to keep skin tones natural and avoid over-saturation. It’s also helpful to compare your video before and after editing to see improvements.Practicing regularly will help you understand how colors work and improve your editing skills.
Common Mistakes to Avoid
Many beginners make mistakes like adding too much saturation or contrast, which makes the video look unnatural. Some skip color correction and directly start grading, which leads to poor results.Always fix your colors first, then apply creative effects.
Conclusion
Color correction and grading in Alight Motion are essential for creating professional videos. These techniques help fix color issues and add creative style to your content. By using tools like brightness, saturation, and temperature, you can easily improve your video quality. Always start with correction and then move to grading for the best results. With practice, you will develop your own unique editing style. Keep experimenting and your videos will look more cinematic and engaging over time.